


Butter Pie Crust
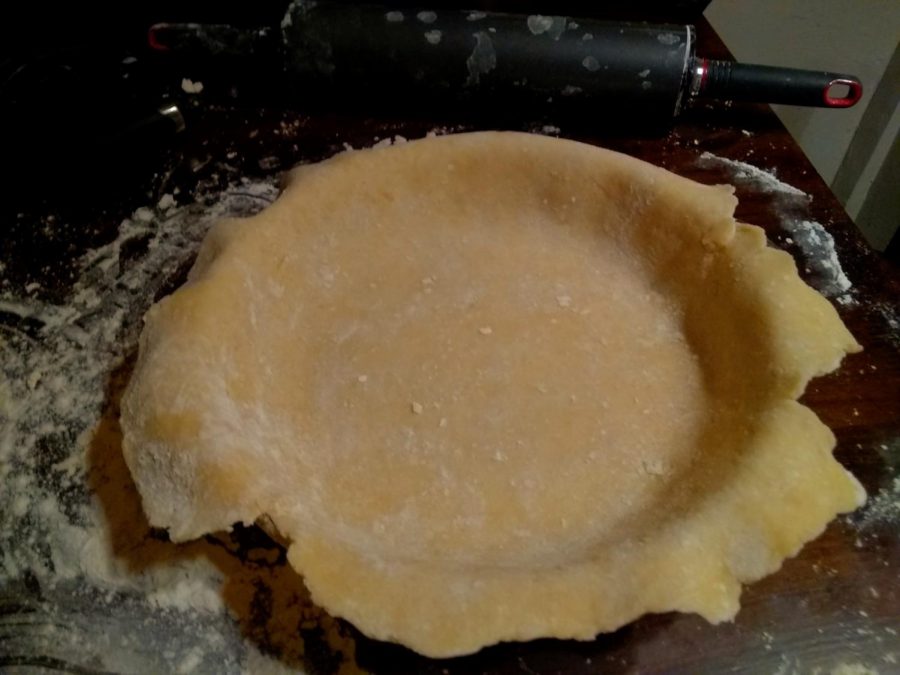
Butter pie crust success! Photo by Ian Hilton, 2/23/21.
I’m excited to get this recipe out of the way, as I have a few pie-like recipes on the horizon. A homemade pie crust can be used for both sweet and hardy pies. It can be frozen for months and, with just a little elbow grease, it’s just so flipping easy. Store-bought crusts can be fine, but they can also be expensive and come pre-formed (we’ll get into why that’s not a great thing in the notes).
There’s no need to experiment with flavor here, just technique. We’re only building a base to highlight the filling, so less is more. This recipe will deliver two crusts, assuming you’re using a 9-10 inch pie pan. It can be refrigerated for up to five days and frozen for a few months.
Full disclosure: this is not gluten-free, nor is it vegan. Sorry, but that’s how the flavor and texture really come through.
There are only four ingredients for pie crust. As we say in the kitchen, “Don’t French it up,” meaning don’t get exotic beyond fat, flour, salt and water. Let’s discuss these!
Fat
As the title of this recipe suggests, we’ll be using butter only. There are differing schools of thought on this, however, such as using lard, shortening or a butter/lard combination. Proponents of the latter claim this will yield a crispier crust, whereas using only butter is, well, a butter bomb. Butter has moisture in it. When heated, a butter crust will form more flakes because of the release of this moisture. Keep your butter in the freezer until you’re ready to work with it — it’s got to be cold. If not, your crust will turn out greasy. Use unsalted butter.
Flour
All-purpose is best. The higher protein content makes the crust rise higher and stay fresh longer. Again, don’t get exotic.
Salt
Pretty straightforward, but coarse sea salt, as opposed to table salt, gives me the best results in about any situation. I always have a jar of sea salt in my pantry from my grocery store’s bulk section for this reason.
Water
Like the fat, the water needs to be ice cold. Before I’m ready to add it, I keep it in a glass, with ice, in the refrigerator to get it down to 32 F.
Prep time: 20 minutes
Total time: 2 hours, 20 minutes
Servings: 2 pie crusts
Equipment
Mixing bowl
Kitchen knife
Cutting board
Pastry knife or food processor
Table or large, flat surface
Rubber spatula
Rolling pin
Plastic wrap
Ingredients
2 ½ cups of flour
1 teaspoon of salt
16 tablespoons of unsalted butter (1 cup)
8 tablespoons of ice water (see notes below)
Procedure
Combine the flour and salt in a big mixing bowl.
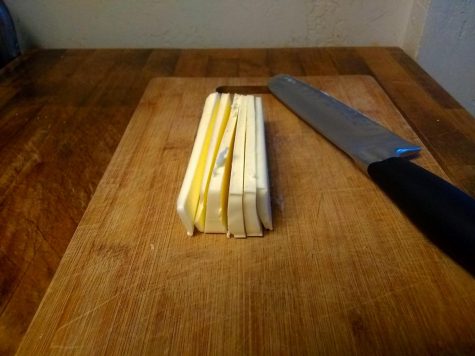
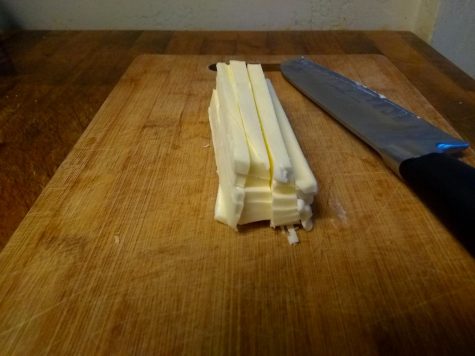
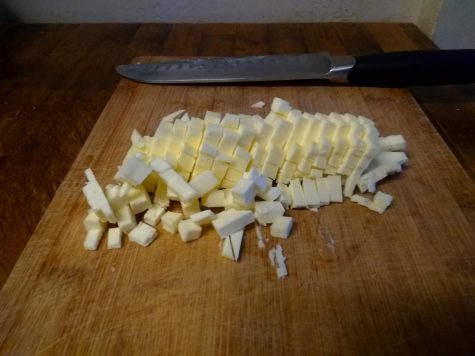
Take out your frozen butter and cube it (see pictures). Add the butter to the flour and salt mixture.
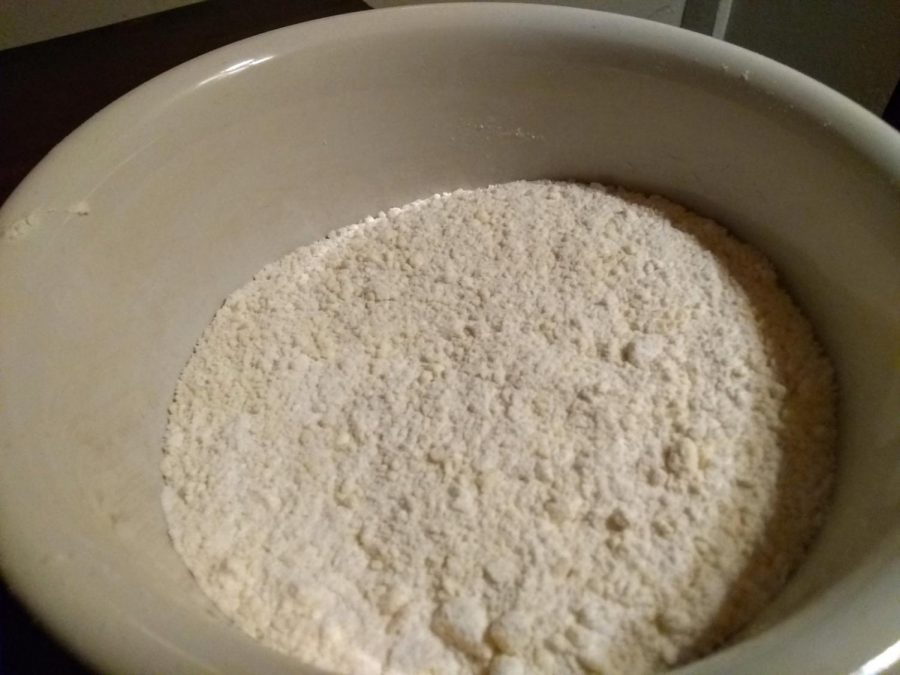
The mixture now needs to be mixed. If you’re doing this all by hand, a pastry cutter is best, but using two forks will work in a pinch. However, I just used my food processor — a batch of this size will require two separate mixings. The mixture should look like a coarse cornmeal.
Get out the ice water and a tablespoon. Add one tablespoon at a time, stirring the mixture after every addition with a rubber spatula or wooden spoon. The mixture should be flaky, with larger chunks starting to form.
Spread flour on a table and your hands. Transfer the mixture from the bowl onto the floured table.
Form the mixture into one mass and cut it in half.
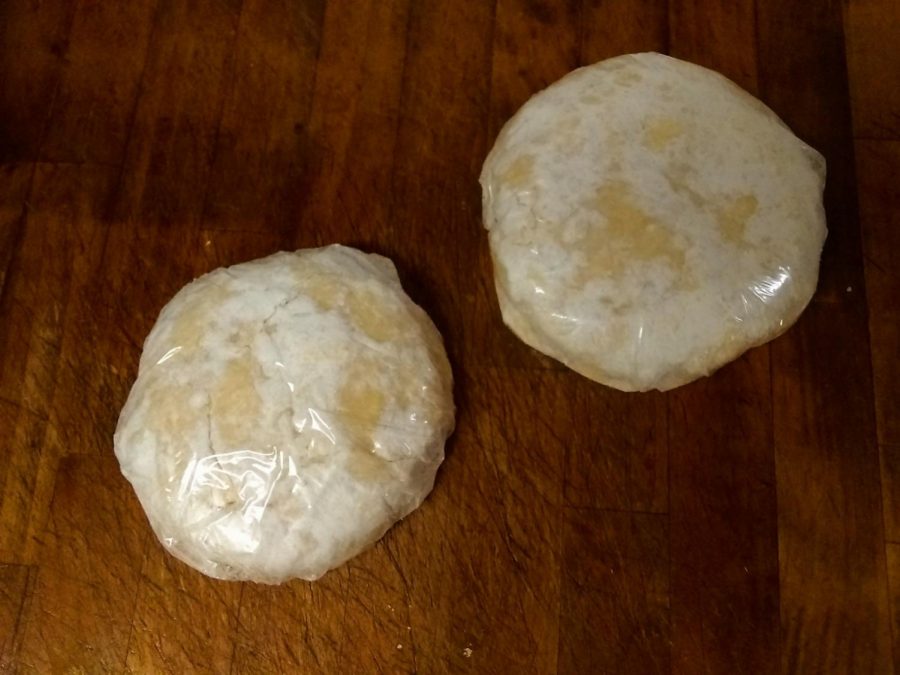
Form each half into circular disks, about an inch thick, and wrap with plastic wrap. Refrigerate for at least two hours.
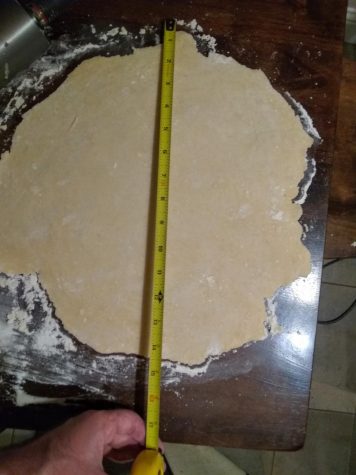
When ready to use your crust, re-flour the table and place one disk on top. Using a rolling pin — sorry, there’s really no substitute here — start rolling the crust from the middle and away from you. Turn the crust and repeat until it’s reached its desired radius. Be gentle but firm. The crust is your buddy.
Notes:
Regarding water: this can be somewhat tricky. Here in Chico, the atmosphere is fairly dry. I found myself adding about another tablespoon by flicking the mixture with wet fingers and it worked out fine. Do not add too much water! Your crust will turn out clumpy and heavy. The object here is a light, flaky crust.
When using the crust to line a pie pan, measure both the bottom and the sides. My 10-inch pie pan has a two-inch lip, so when rolling out my crust I have to make sure it’s spread out to 14 inches to cover the bottom and sides. In fact, when splitting my mixture in half, I give one a little more to accommodate for this. The other “half” rolls out to 11 inches to cover the top.
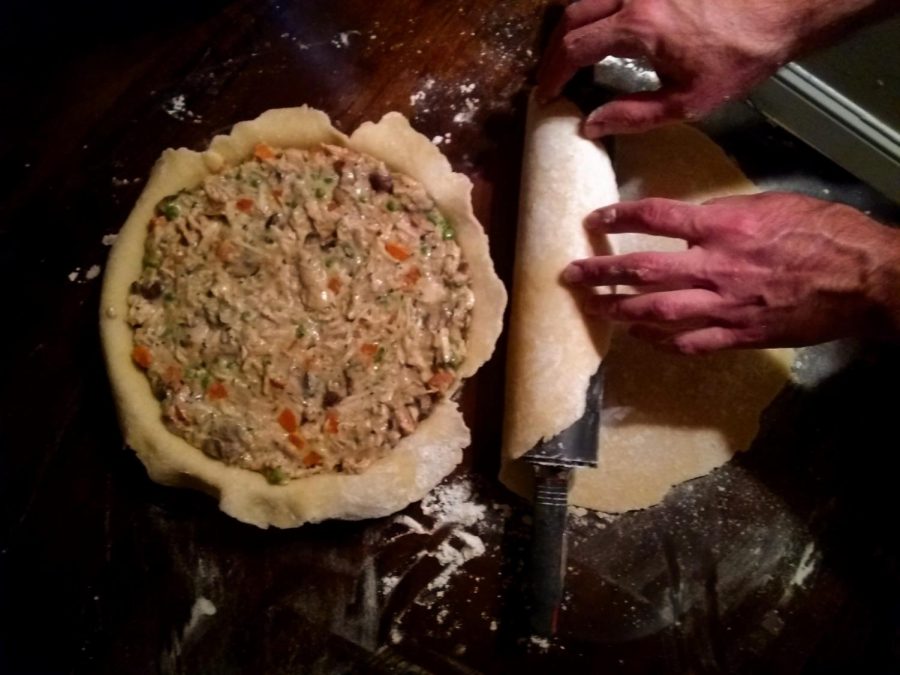
When your crust is rolled out and ready to either fit into a pie pan or lay across it, use the rolling pin to avoid it breaking during the transfer. Simply flour the rolling pin and roll the crust around it (see picture).
Sometimes, especially in dry climates, rolling crust out will make the edges crack or split. Still using cold water, dip a couple fingers in the water and apply very conservatively to the split edges, press together and gently keep rolling it out.
Store-bought crusts can work. Their biggest downfall, however, is that the freedom to shape the crust is gone. If you’re making a quiche, for example, store-bought is fine because you’re not going to want a top crust. By thawing a store-bought crust to lay it flat across a pie, the fat in the crust is heated up and your pie will be greasy.
Ian Hilton can be reached at [email protected].