This recipe comes with a disclaimer: You have to know how to make nut milk. Fortunately, there are lots of resources online with detailed instructions and photos on how to do this.
I recommend visiting this tutorial on Food52. With the growing number of vegans, food allergies and concerns about the sustainability of dairy and potential negative side effects of soy, folks are turning to the power of nuts for their milk.
Advantages
I see many advantages to making your own nut milk — as long as you have a blender, plan a few hours ahead of time and have some sort of straining device (a tea towel, some cheese cloth, a clean T-shirt etc.).
It takes a maximum of 10 minutes of hands-on effort, about three dishes and two ingredients. Simply soak your nuts, drain them, blend them with fresh water, strain them and presto.
Another advantage to making your own nut milk is that you skip out on consuming all the weird additives in the store-bought varieties. No questionable stabilizers, weird aftertastes or bulky cartons to recycle. You are also in control of whether or not you want to add any sweeteners or other flavorings. The opportunities are endless.
Disadvantage
There are only a few downsides to making your own nut milk. First, you’ll need to plan ahead a whole eight to 12 hours. But if you remember to soak the nuts the night before, you are sure to have great tasting nut milk to start the next day.
Nut milks also don’t always froth well, so if you are into making your own lattes and cappuccinos don’t hold high hopes for the foam.
Finally, there is the whole nuisance of having to actually make the stuff. But like I said it literally takes minutes. However, if you have ever tasted homemade nut milk, you would know what all the hype is about.
Varieties
I have explored making multiple varieties of nut milk, from the classic almond to the not-so-conventional sesame seed. While some nuts require less soaking time and others take longer to process, they all have their place in the culinary realm.
Only recently, however, was I introduced to walnut milk.
I know what you are probably thinking, and I was right there too — walnut milk? You’ve just got to trust me on this one. Soaking the nuts overnight actually leaches the tannins so you wont have that prickly feeling on your tongue after taking your first sip.
Recipe
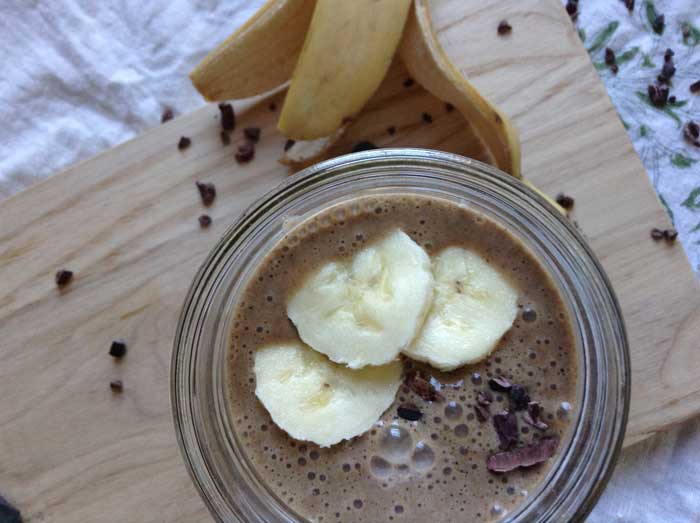
I came across this recipe from The First Mess blog a few weeks ago for a banana bread shake. The idea is genius and you don’t even have to use brown and funky bananas — unless you really want to. As an ardent banana bread lover, it was game on.
I ended up making this smoothie for breakfast every day last week. It is simply too good not to share.
This recipe has a few ingredient adjustments, but feel free to stick with the original version. I think you’ll find this recipe to be a great introduction to nut milks — especially walnut milk — and a new favorite to add to your smoothie repertoire.

Banana Bread Smoothie serves 1
Adapted from The First Mess blog
1 cup of walnut milk
1 whole banana, frozen and cut into pieces
1 tsp cocoa powder
1 tbsp cocoa nibs or chocolate chips
1 tbsp maple syrup, honey or molasses
½ tsp cinnamon
a splash of vanilla
a pinch of nutmeg
a pinch of sea salt
Place all the ingredients in a blender and blend on high for 30 seconds. Garnish with banana slices and walnut chunks.
Grace Kerfoot can be reached at [email protected] or @gracekerf on Twitter.


